Homework 3: Love-O-meter
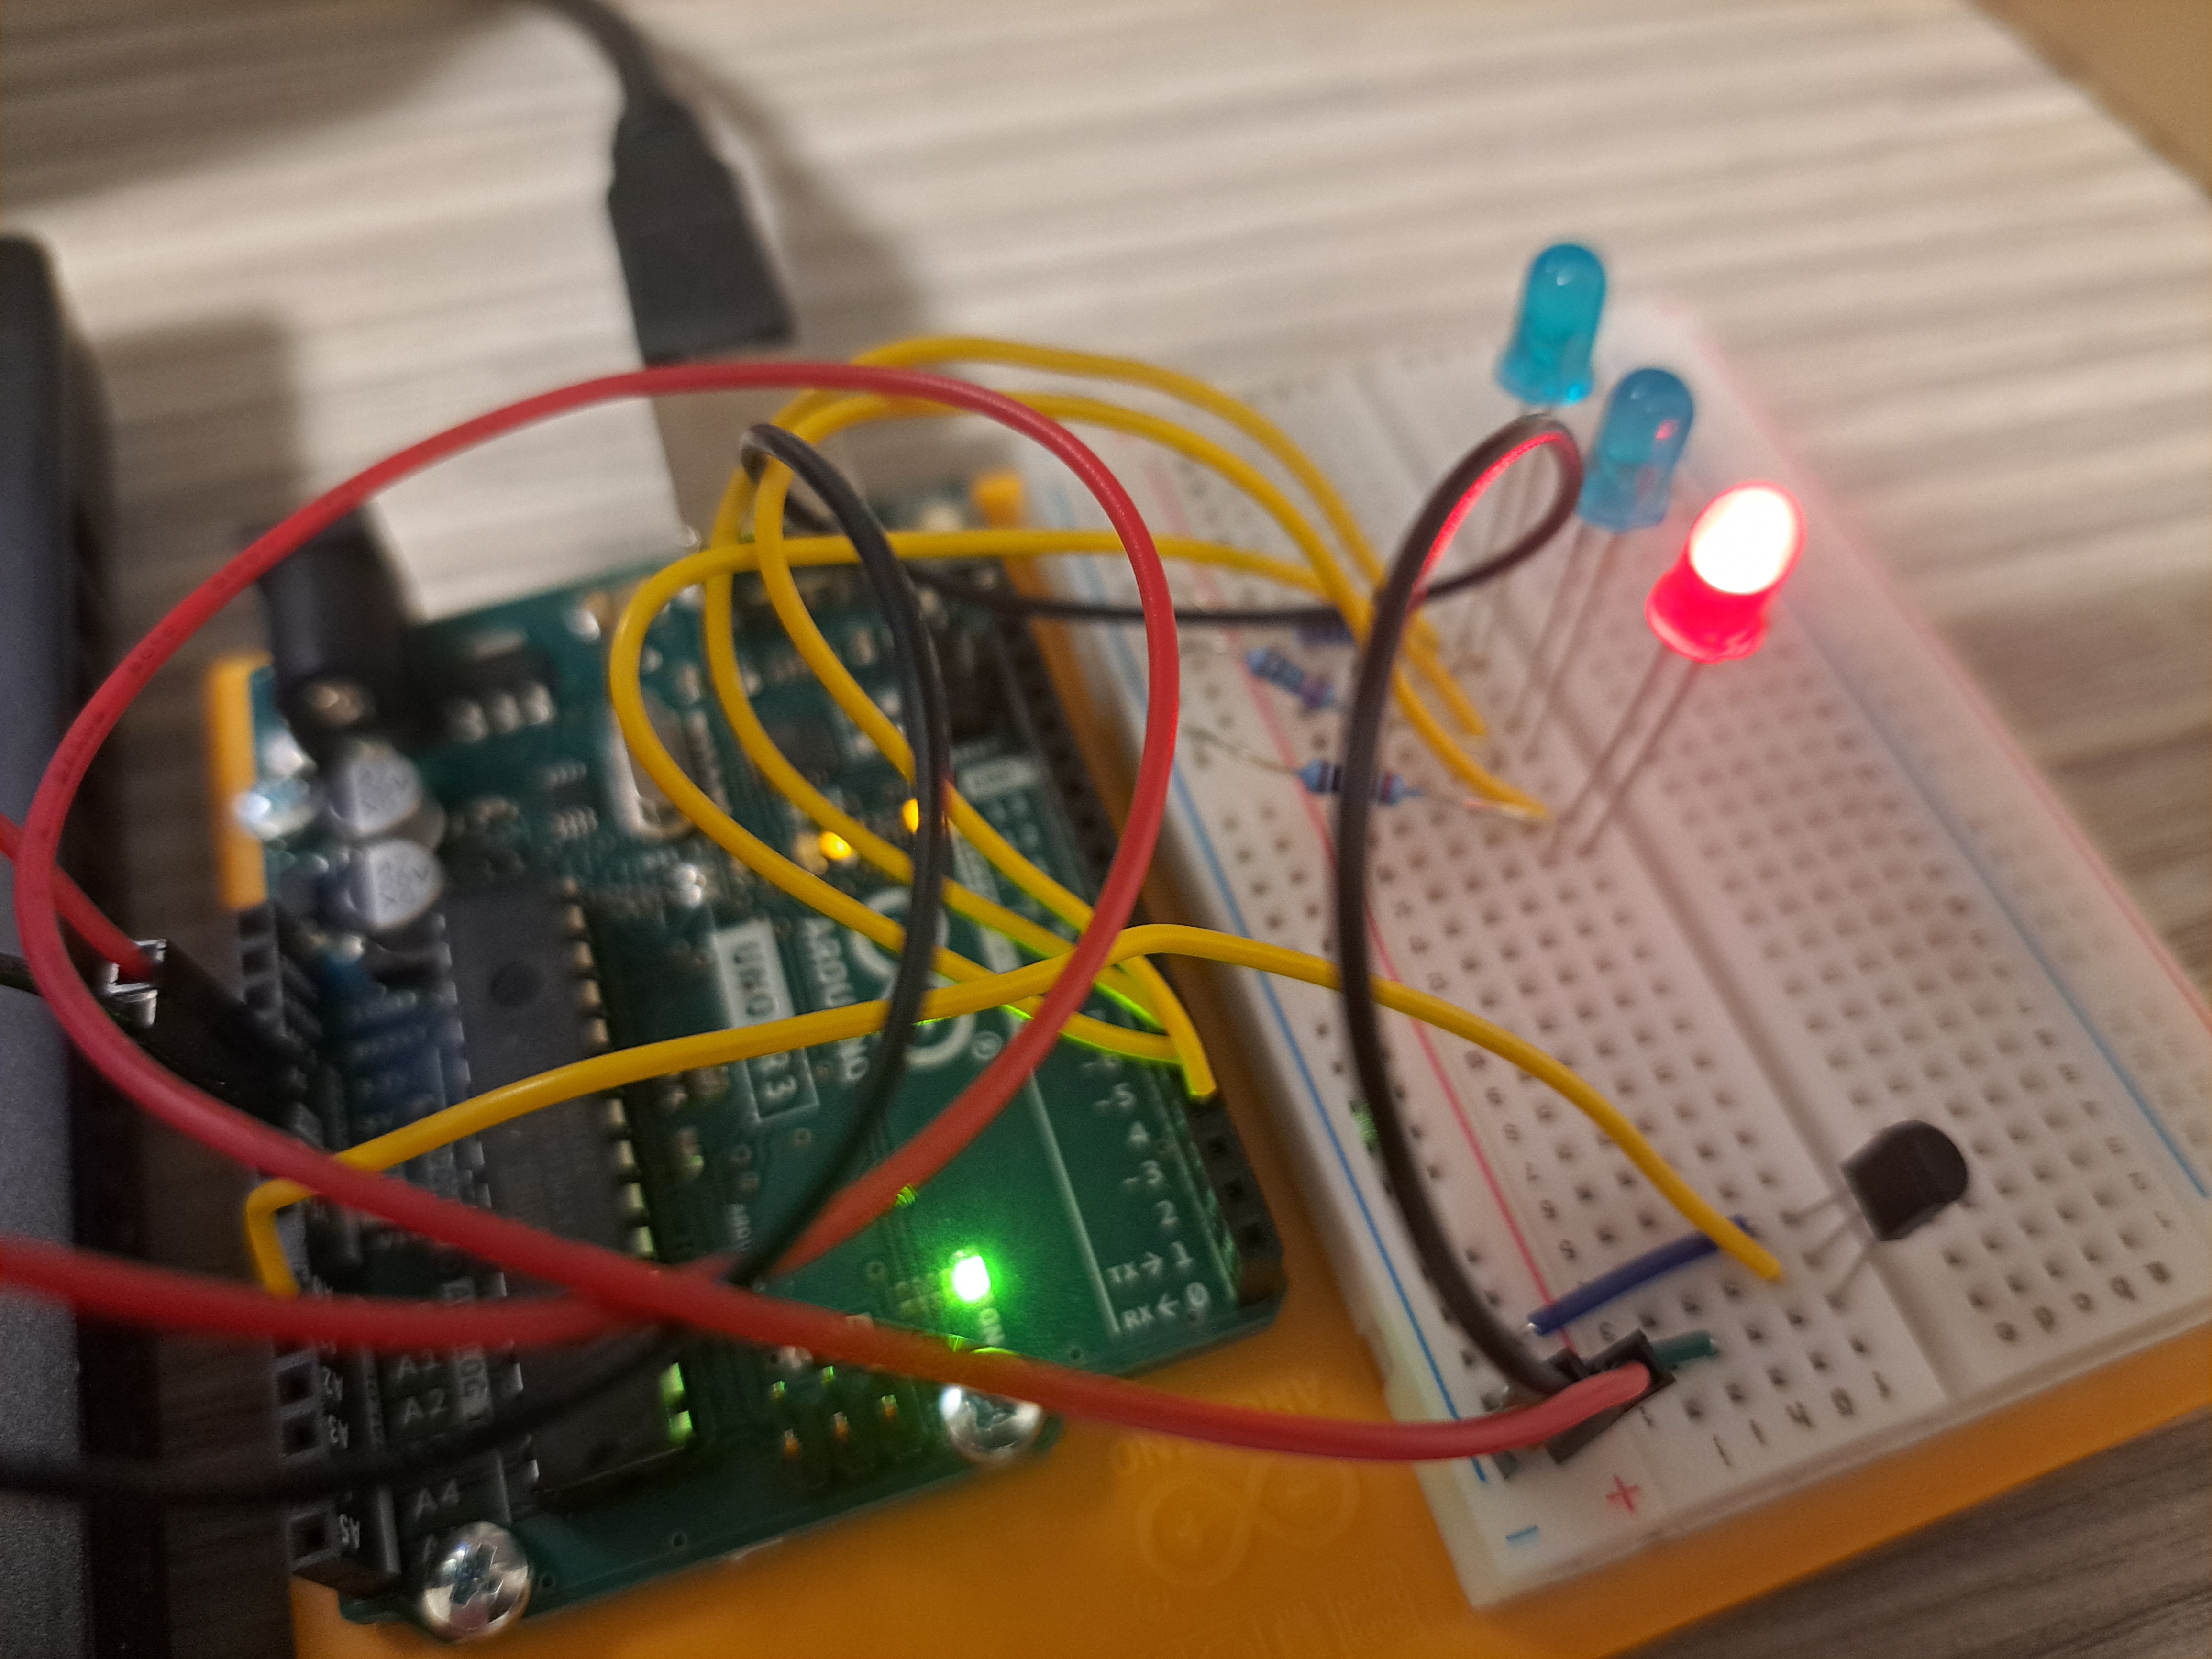
This project went by especially smoothly since I had a headstart from project 2, which saved me some time with the more finicky bits of the project.
Building the Circuit
Luckily, I still had project 2’s circuit intact, so all I had to wire for this project was to switch out the switch for the temperature sensor, then replace the resistor with a jumper to ground, then finally connect the middle pin to the analogue sensor.
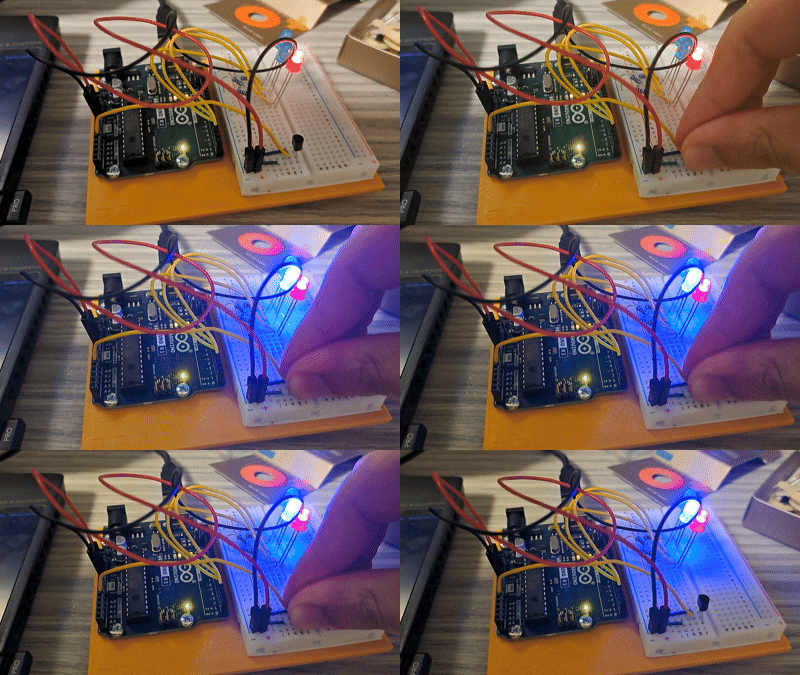
After that, I loaded the Love-o-meter sketch in the Arduino IDE, and it worked.
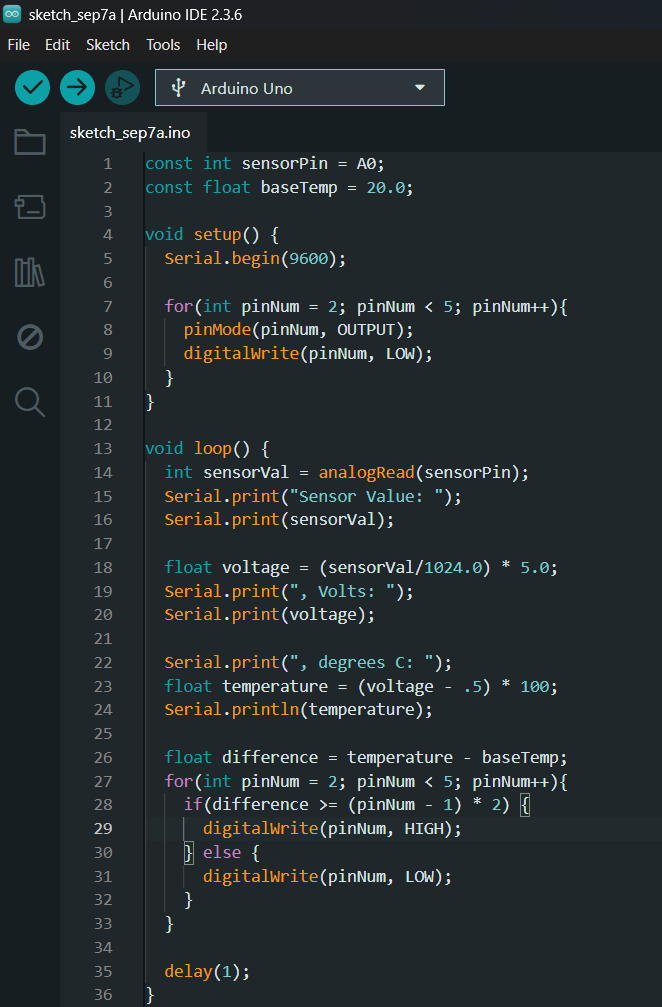
Programming
After confirming that the circuit was working, I began writing the code for the project. The code was a little more advanced than project 2, since you have to convert the ADC signal from the pin to a voltage, then convert that voltage into degrees, then check if the difference in temperature from the base line was higher than 2 degrees per ‘level’ to get the other LEDs to light up.
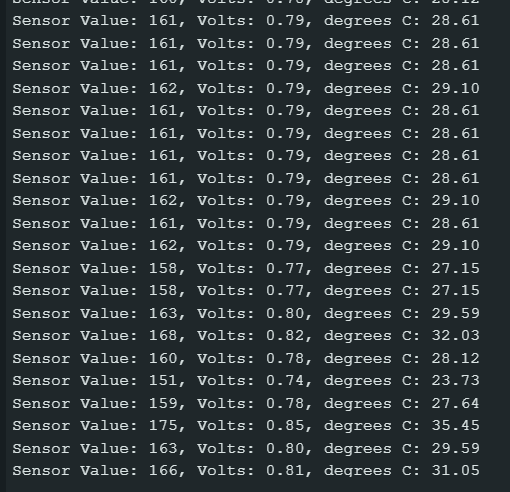
Other than that, it was also cool to see the live sensor output data coming in through the serial monitor, as well as being introduced to the serial monitor and opening a port.