Project 01: Plant Problem
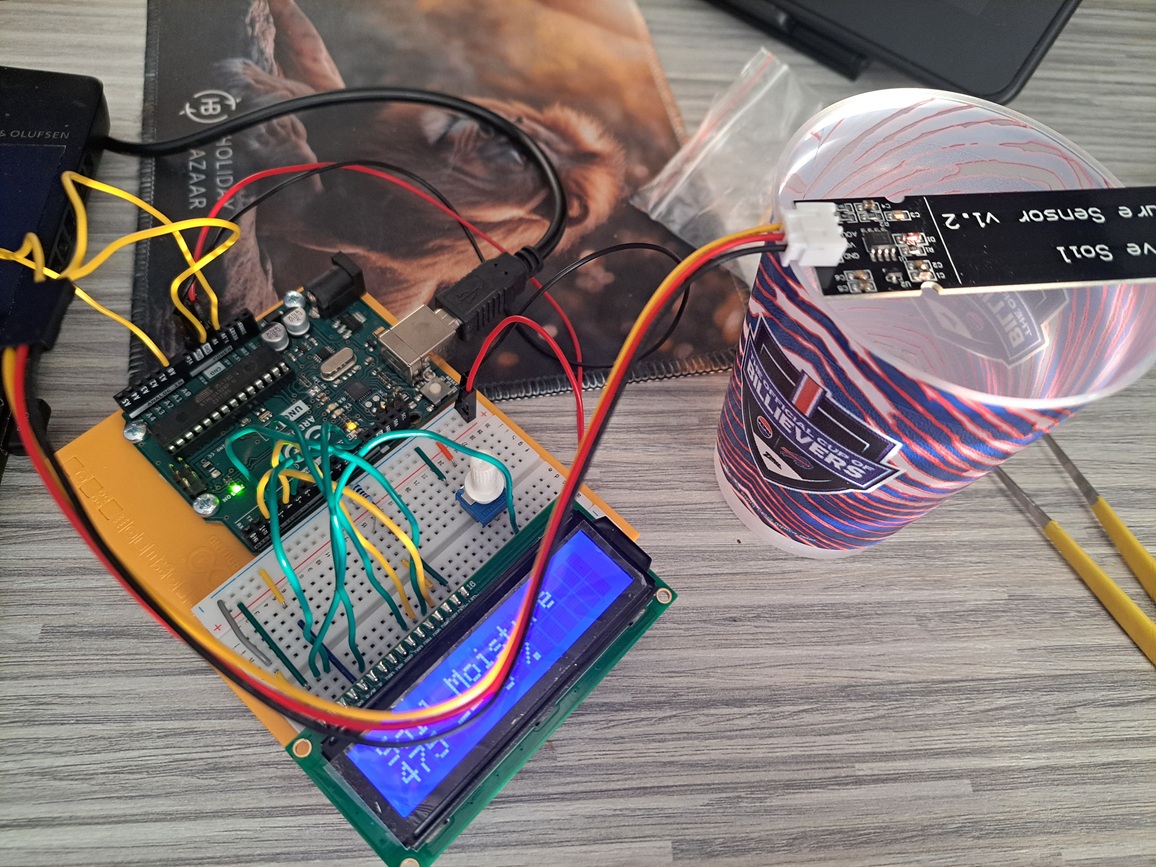
This project was the first semi-original project we did in the class, and I learnt a couple new things about designing circuits and picking out parts. When designing the project, I found difficult to come up with a creative idea, since I don’t keep any plants, so I went with just the basic moisture detector project.
The Circuit
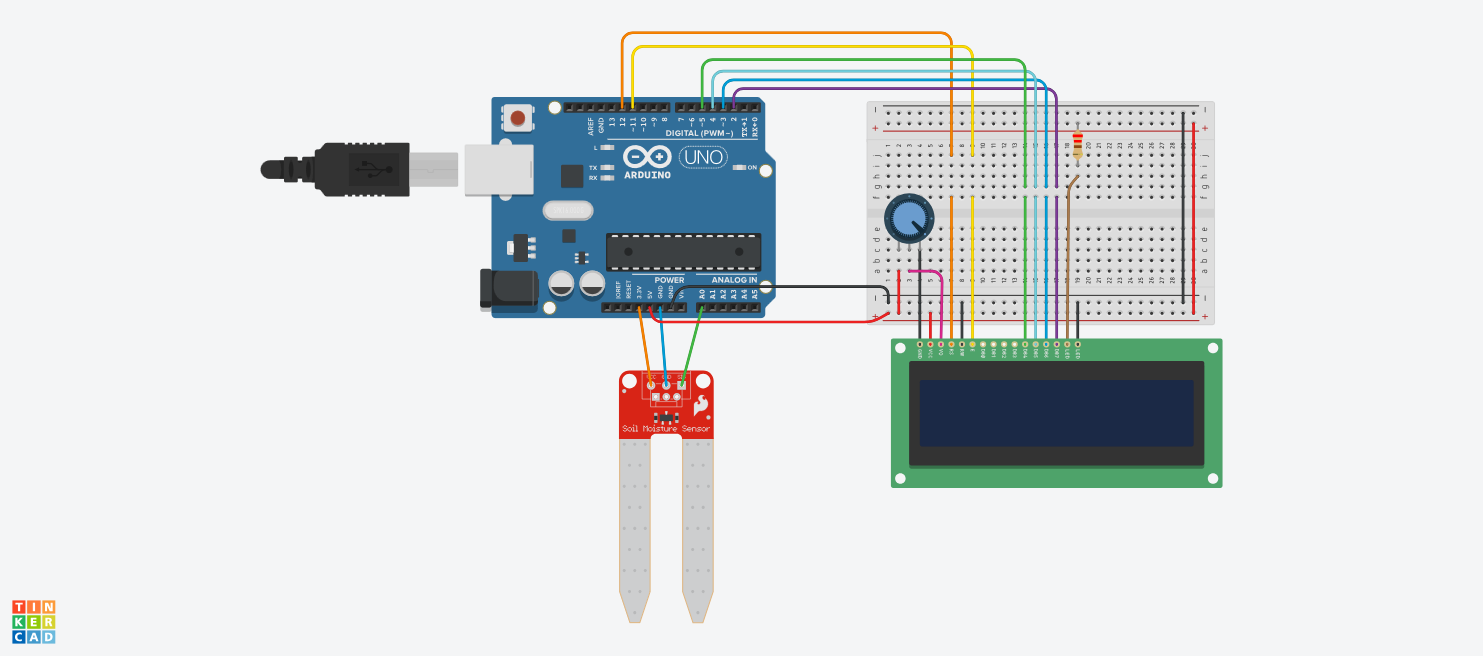
On a side note, the circuit depicted below shows a resistive soil moisture sensor since that was the only one available on TinkerCad, however, such sensors are terrible for these kind of projects since they corrode and basically dissolve, so for my project I went with a capacitive moisture sensor, which doesn’t have that problem.
Parts List
| Name | Quantity | Component |
|---|---|---|
| UArduino | 1 | Arduino Uno R3 |
| UDisplay | 1 | LCD 16 x 2 |
| RpotPotentiometer1 | 1 | 250 kΩ Potentiometer |
| RResistor | 1 | 220 Ω Resistor |
| SENMoisture Sensor | 1 | Soil Moisture Sensor |
Schematics
Building the Circuit
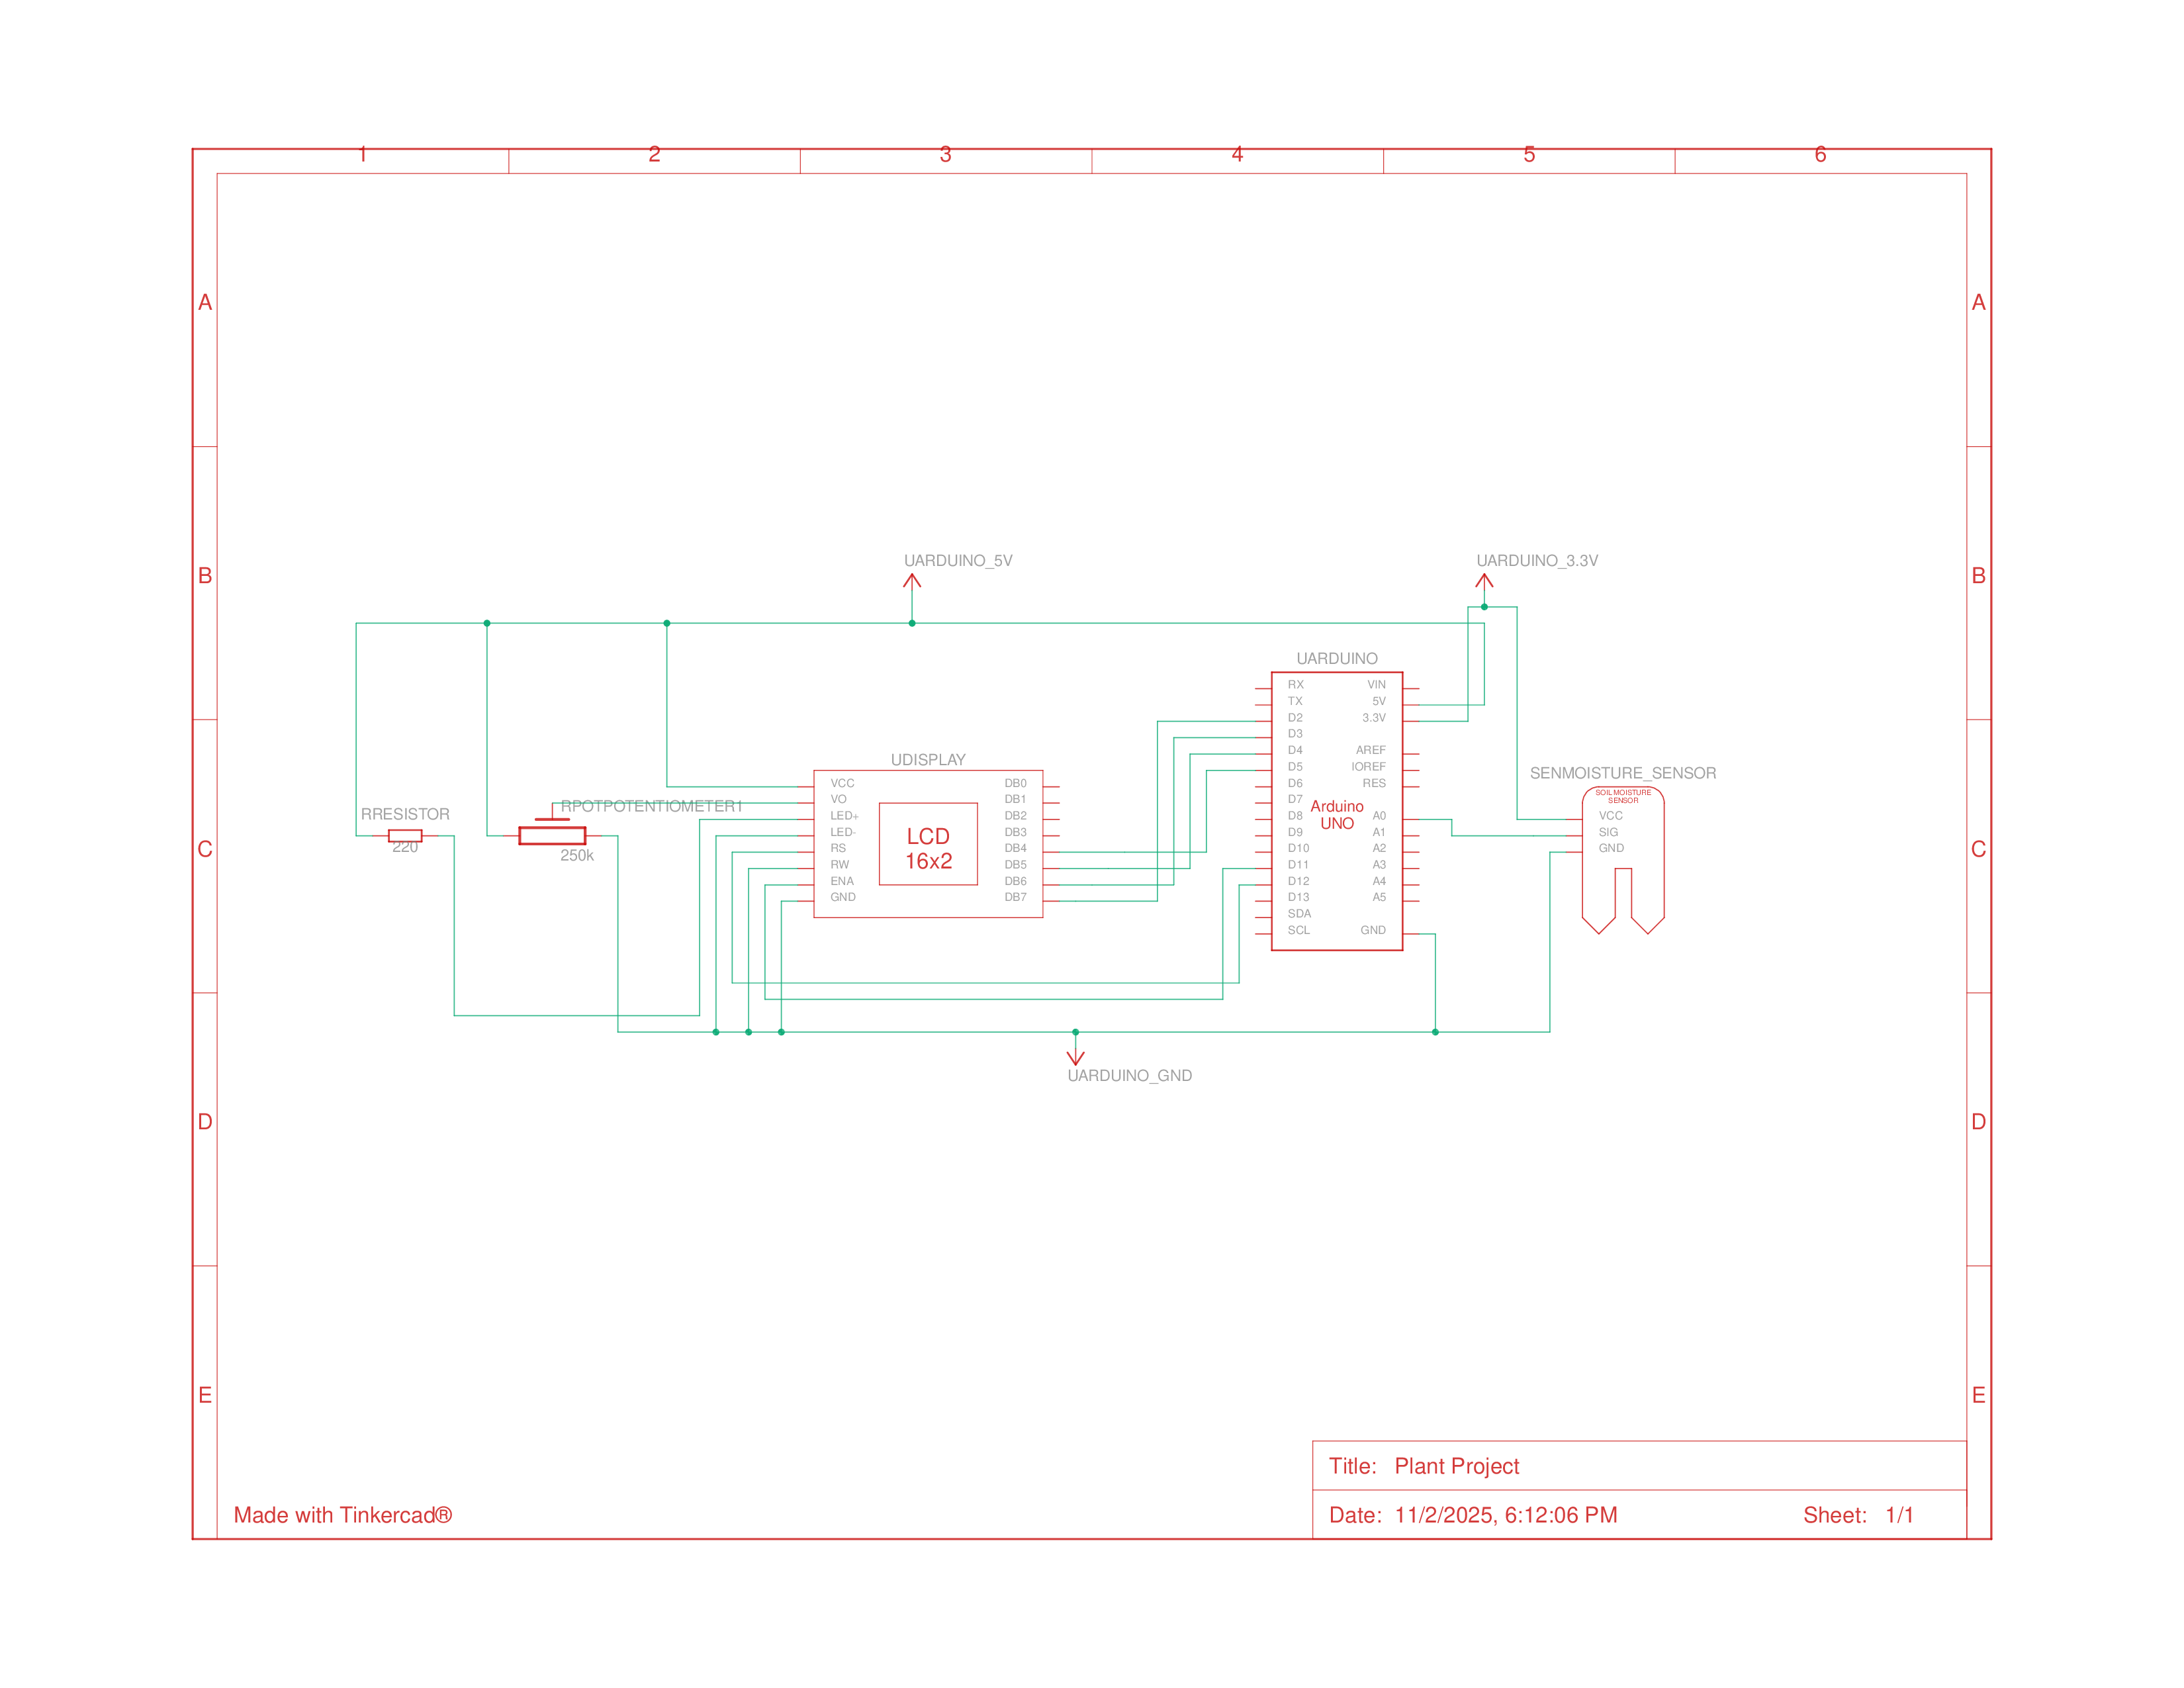
Putting together and designing this circuit was pretty simple, since it was similar to the Crystal Ball project, only that the tilt switch was removed, and I added the moisture sensor. One thing that was different was that I used both the 3.3v and 5v energy outputs from the arduino, one to power the sensor, and the other for the LCD, which I hadn’t done before.
Programming
After constructing the circuit, I began writing the code, which was easy enough with all the experience I had from the previous projects. There are a number of ways I could improve this to make it a more intuitive project with multiple parameters and values to change the text to display something like ‘water now’ or something, rather than just outputting a percentage, but I had lots of other projects and coursework to do, so I settled for just outputting the data and having the user interpret it however they wish.
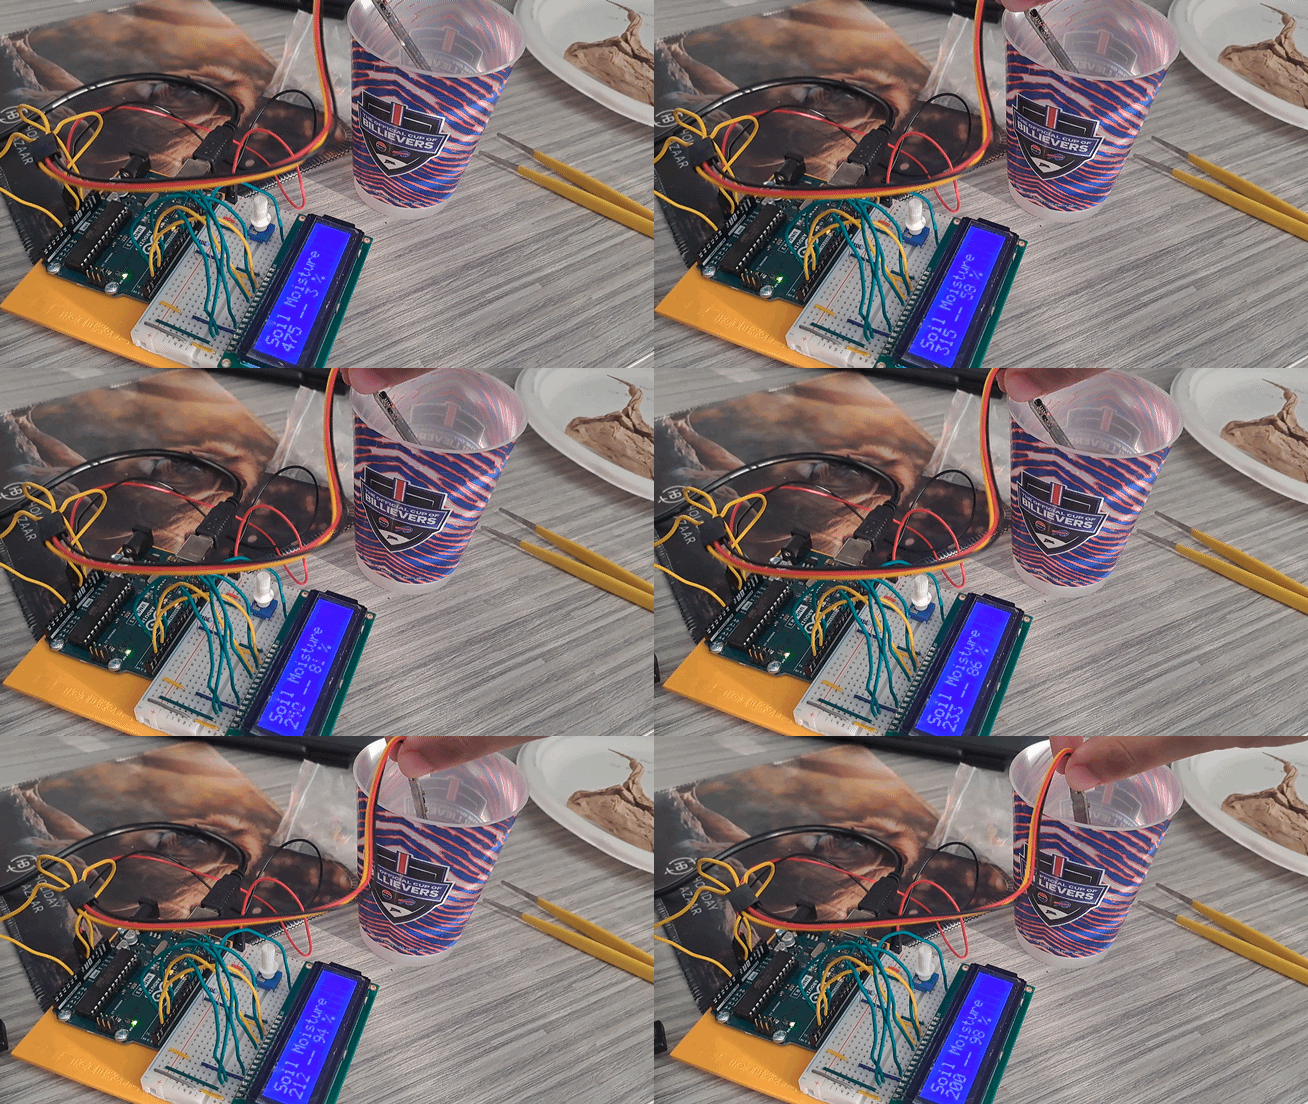
Code
1
2
3
4
5
6
7
8
9
10
11
12
13
14
15
16
17
18
19
20
21
22
23
24
25
26
27
28
29
30
31
32
33
34
35
36
37
38
39
40

#include <LiquidCrystal.h>
LiquidCrystal lcd(12, 11, 5, 4, 3, 2);

// found by reading value with sensor in air
const int AIR_VALUE = 485;
// found by reading value in glass of water
const int WATER_VALUE = 195;

// store values being read
int soilMoistureValue = 0;
int soilMoisturePercent = 0;

// open communication with computer and initialize LCD
void setup() {
  // Serial.begin(9600);
  lcd.begin(16, 2);

  // 1st line should never change, so just print it at the start
  lcd.setCursor(0, 0);
  lcd.print("Soil Moisture");
}

void loop() {
  // read soil moisture level
  soilMoistureValue = analogRead(A0);
  // Serial.println(soilMoistureValue);

  // get as percent ranging between air and water values
  soilMoisturePercent = map(soilMoistureValue, AIR_VALUE, WATER_VALUE, 0, 100);

  // write moisture value and percent level to 2nd line
  lcd.setCursor(0, 1);
  lcd.print(soilMoistureValue);
  lcd.print(" -- ");
  lcd.print(soilMoisturePercent);
  lcd.print(" %");
  delay(250); // give analog sensor time to settle
}
‘Talking’ to Plants
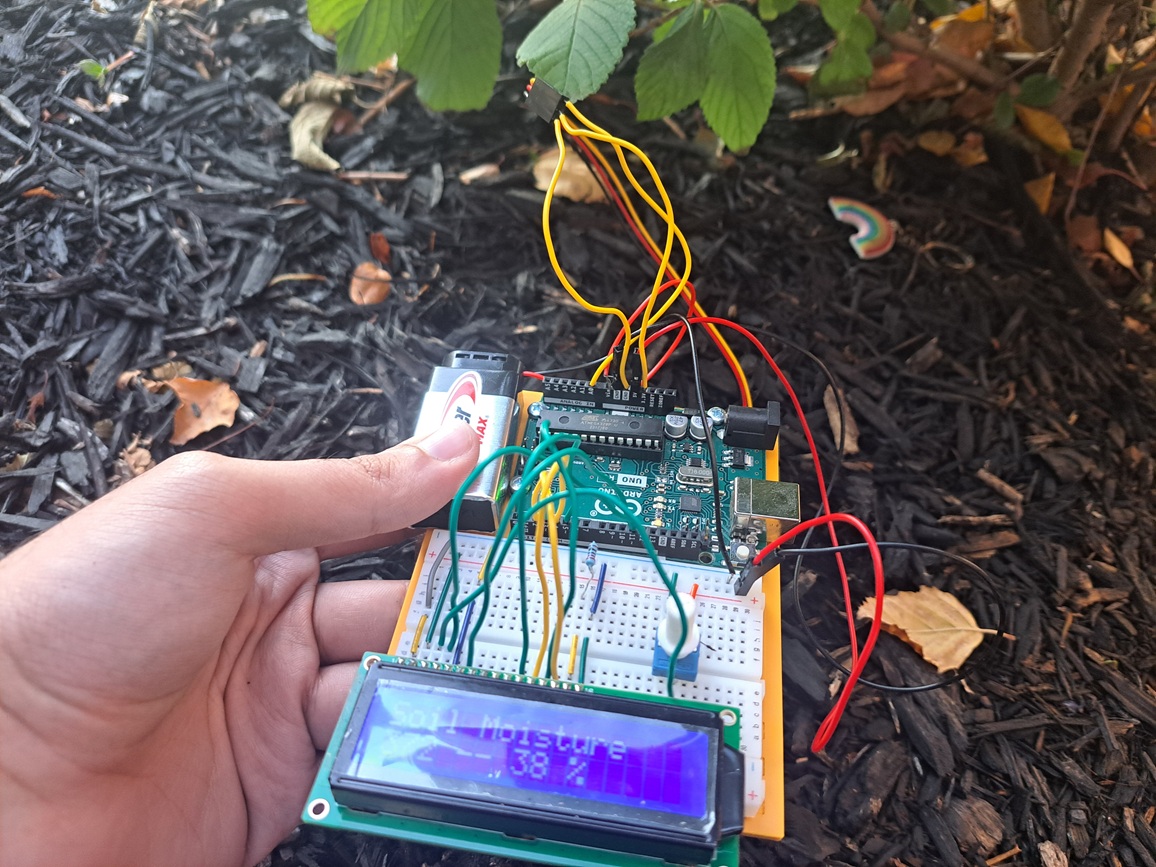
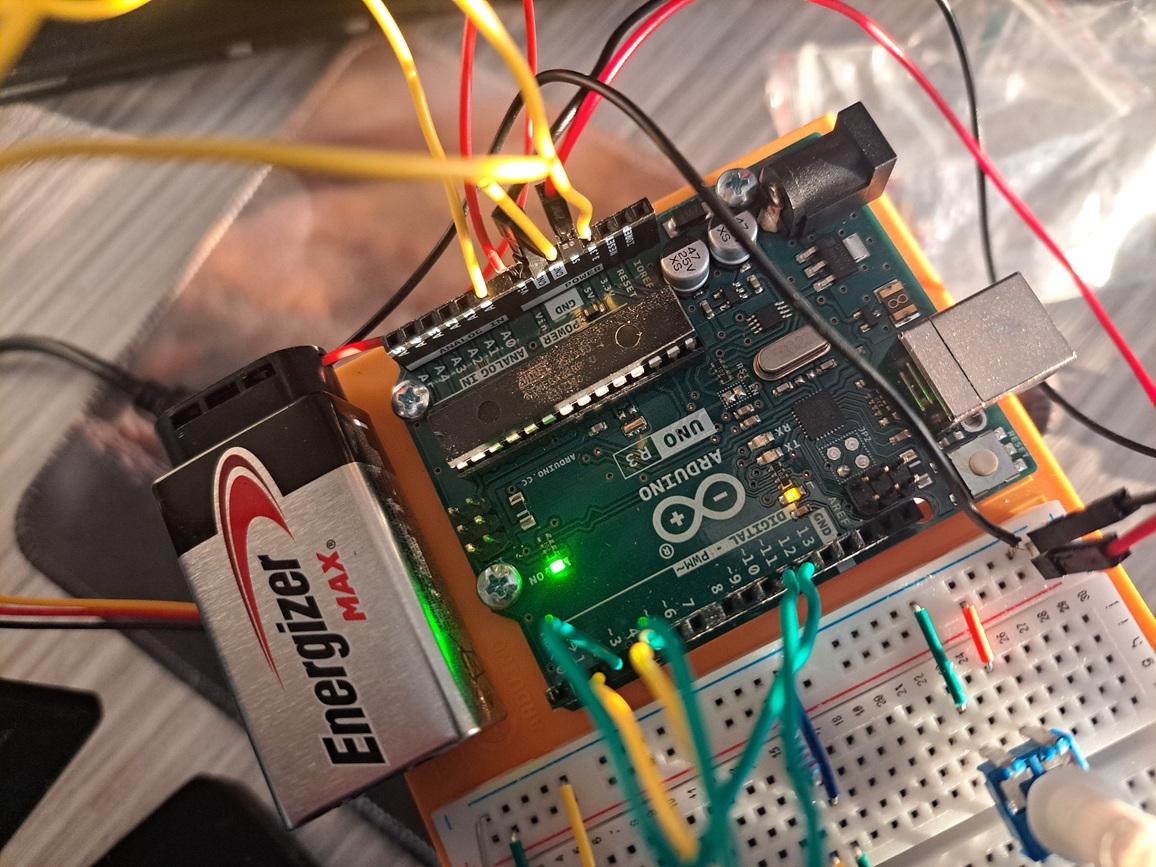
After I finished testing, I went out to ‘talk’ to plants, since that was what the project was about. Unfortunately as I mentioned, I don’t have any plants, so I had to jerry-rig a battery to my project to be able to take it outside:
I then went down to the front of my building and tested the soil around the bushes which came out to roughly 38% moisture which felt about right on a scale from air to a glass of water: