Homework 9: Motorized Pinwheel
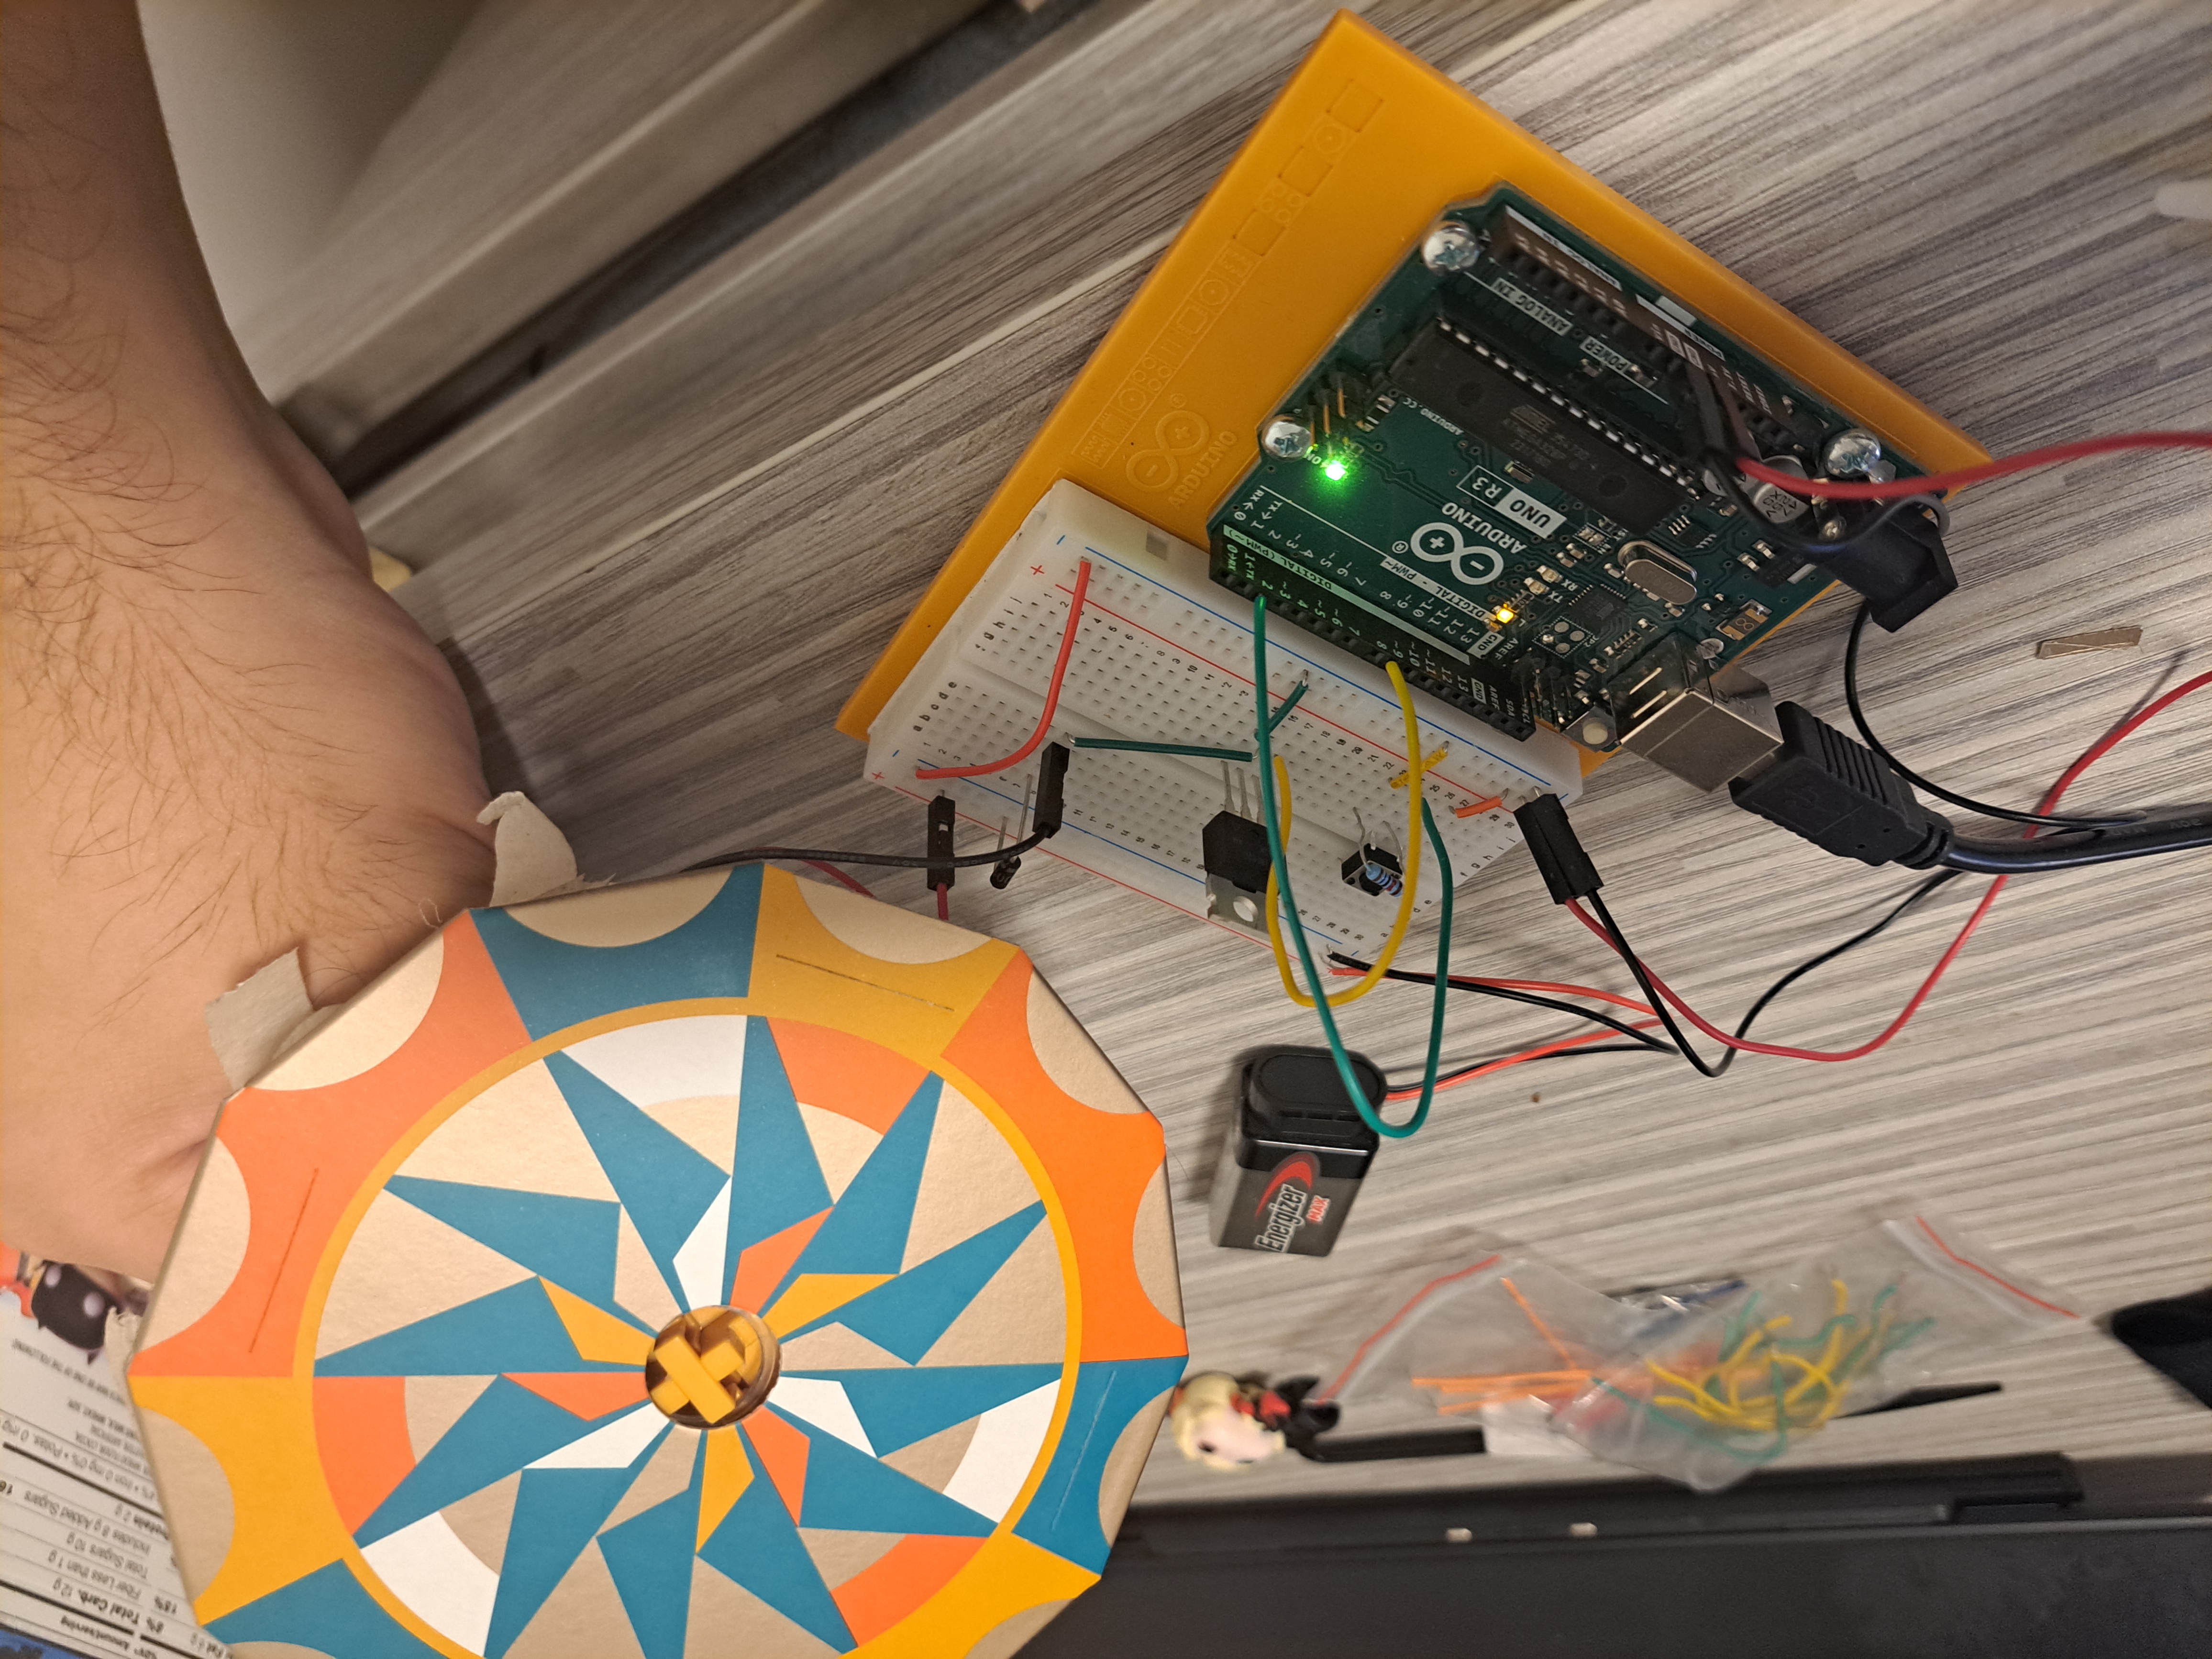
This homework was more enjoyable because there is something inherently more entertaining about making things move and spin than static objects, though, unfortunately the crafting part ended up a bit more janky than I would have liked.
The Circuit
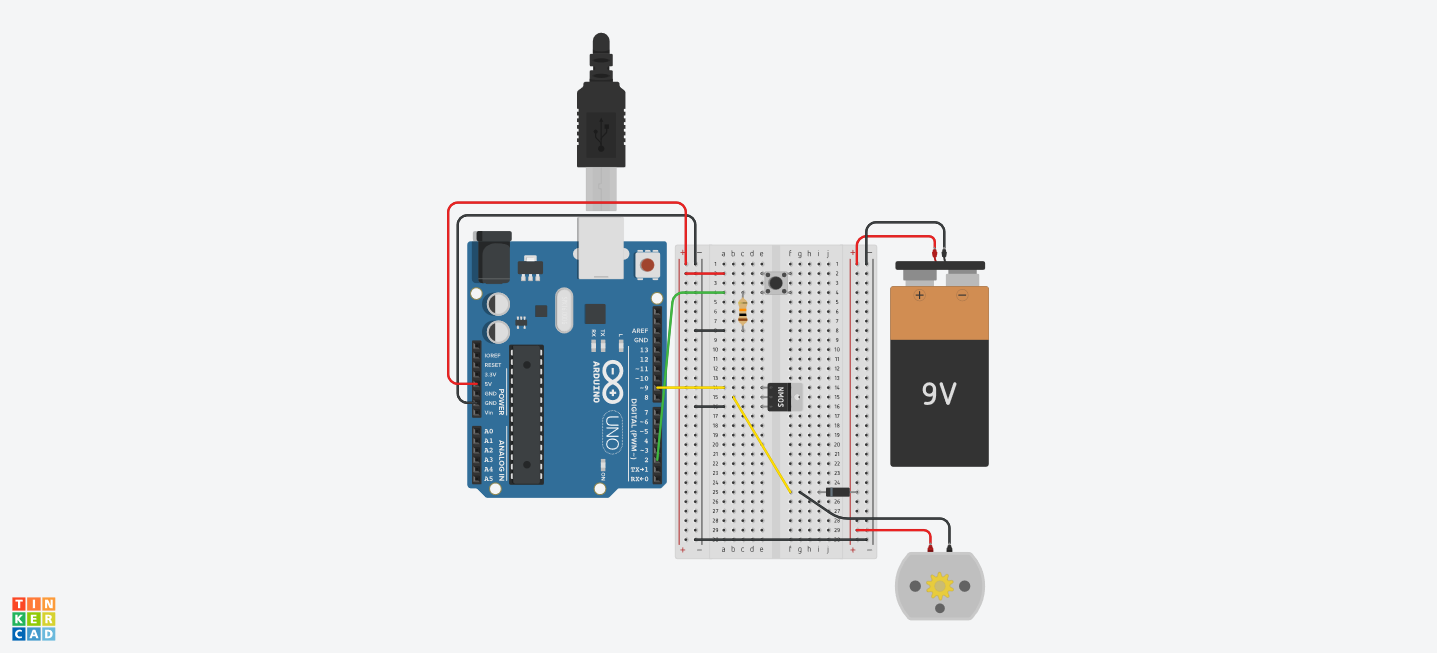
Parts List
| Name | Quantity | Component |
|---|---|---|
| U1 | 1 | Arduino Uno R3 |
| S1 | 1 | Pushbutton |
| R1 | 1 | 10 kΩ Resistor |
| T1 | 1 | nMOS Transistor (MOSFET) |
| D1 | 1 | Diode |
| M1 | 1 | DC Motor |
| BAT1 | 1 | 9V Battery |
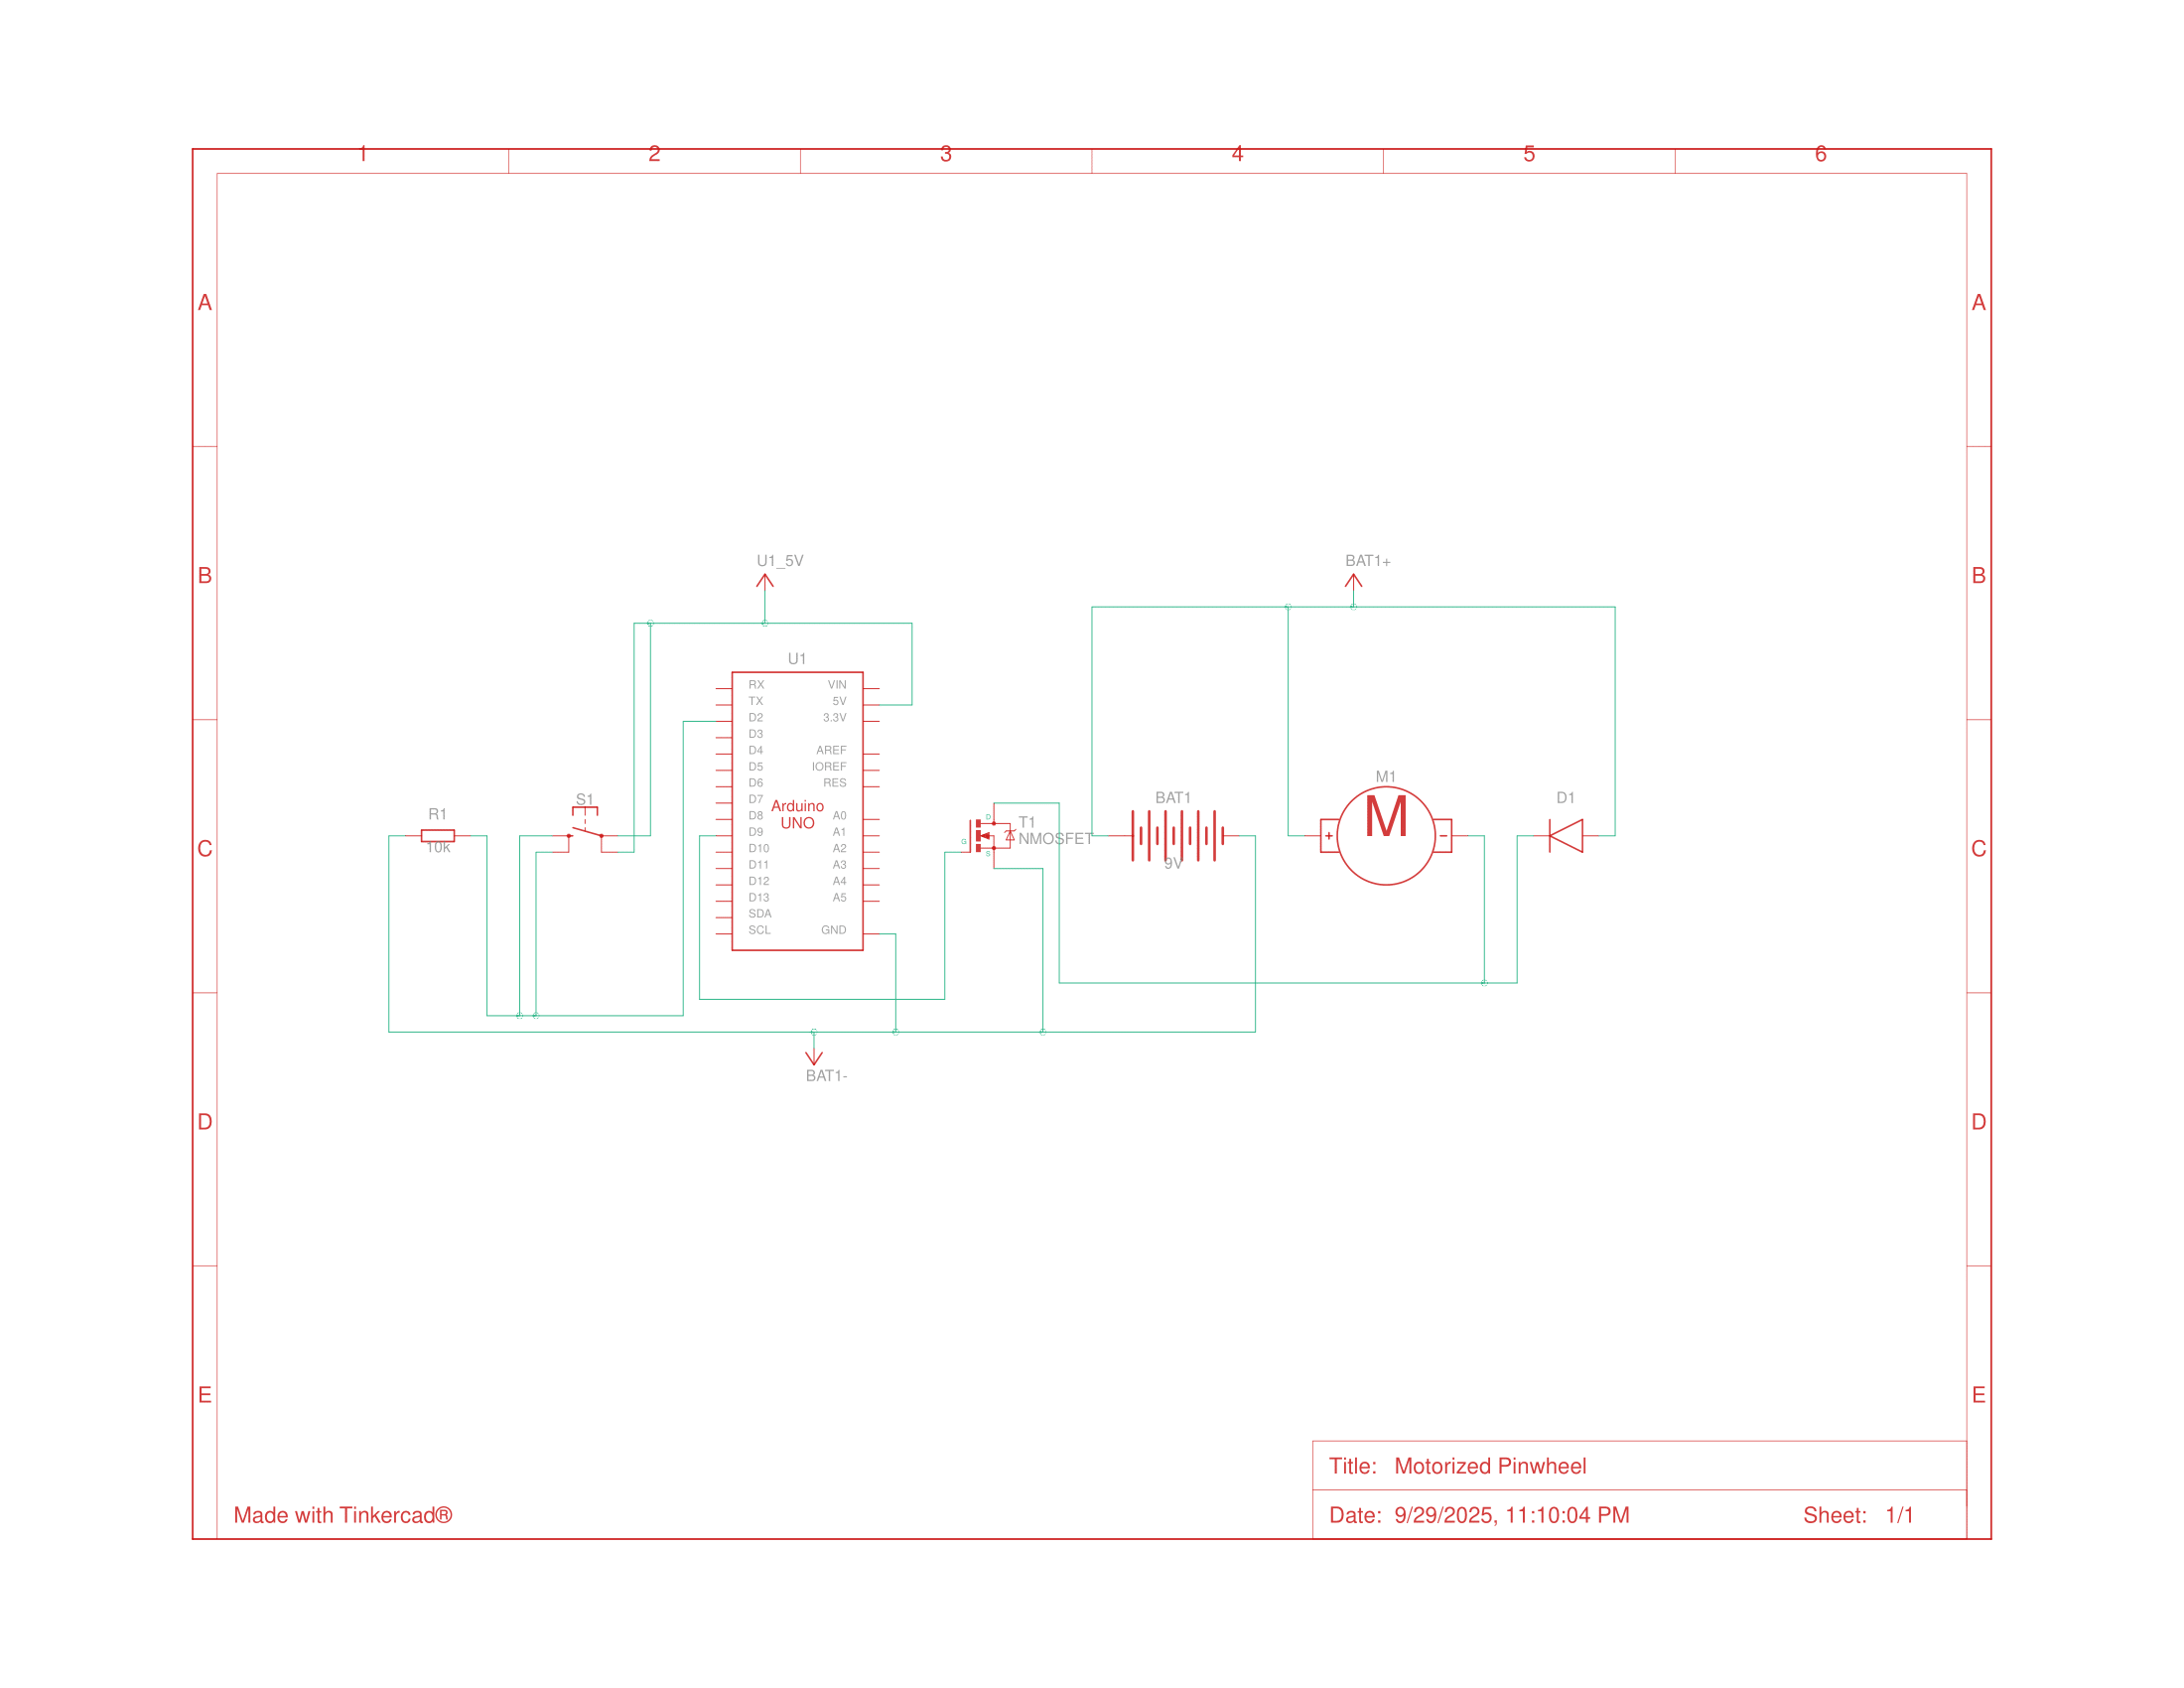
Schematics
Building the Circuit
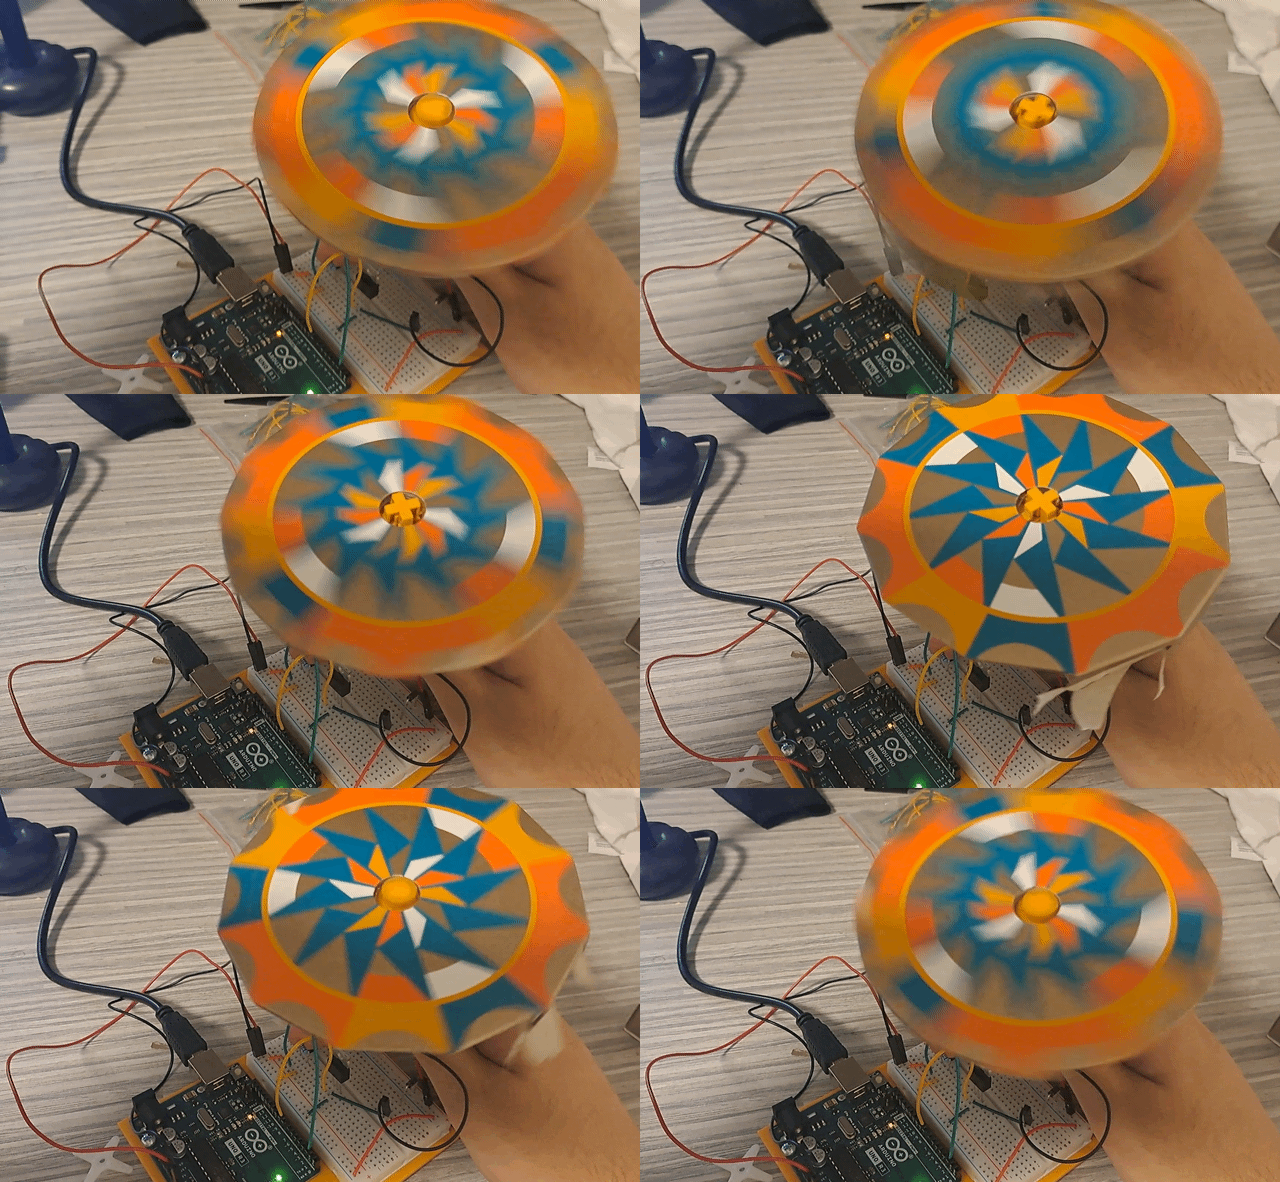
Building the circuit went by quickly and I don’t really have much more to say about it. However, constructing the pinwheel itself didn’t go too well and the resulting pinwheel was falling apart quite a bit.
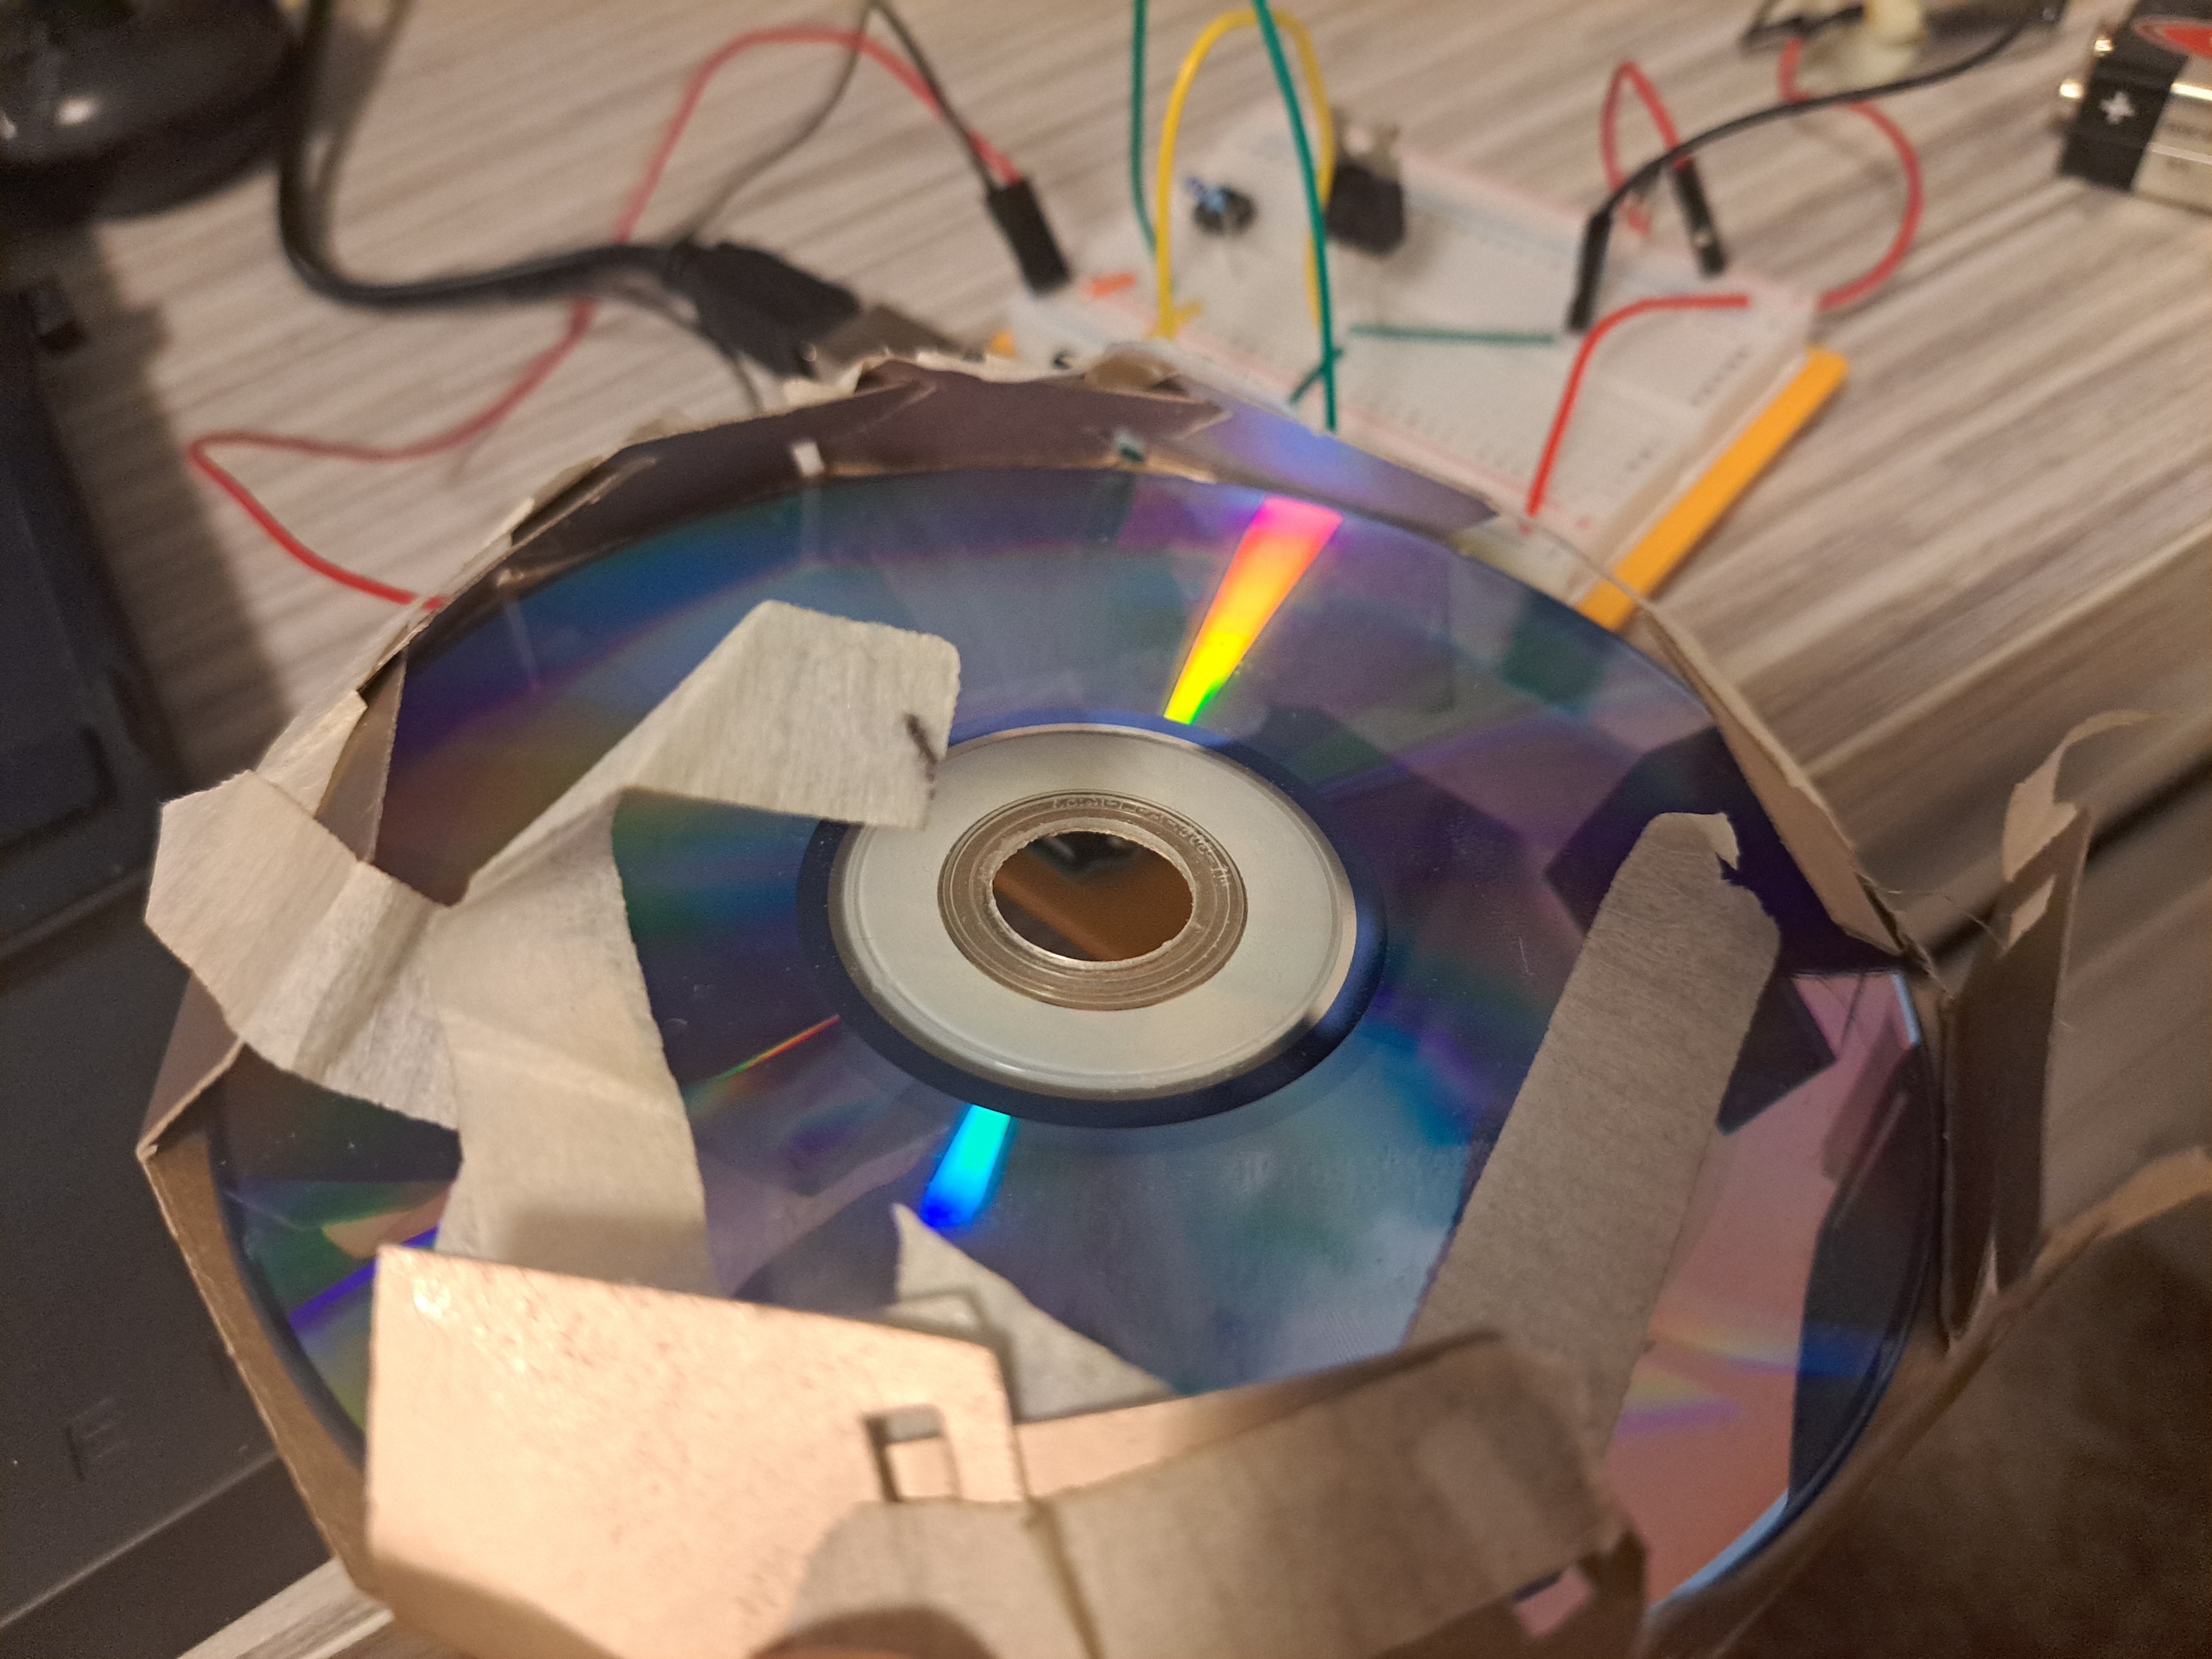
I guess I need stronger tape or something, though I wasn’t too disappointed since after loading the example sketch for testing, it worked out and span well enough.
Programming
After confirming that the circuit was mostly working, I then unloaded the example sketch and began programming the arduino, which this time, the program was way simpler than expected, and was just turning on / off the motor according to the switch.
1
2
3
4
5
6
7
8
9
10
11
12
13
14
15
16
17
18
const int switchPin = 2, motorPin = 9;

int switchState = 0;

void setup() {
  pinMode(motorPin, OUTPUT);
  pinMode(switchPin, INPUT);
}

void loop() {
  switchState = digitalRead(switchPin);

  if (switchState == HIGH) {
    digitalWrite(motorPin, HIGH);
  } else {
    digitalWrite(motorPin, LOW);
  }
}